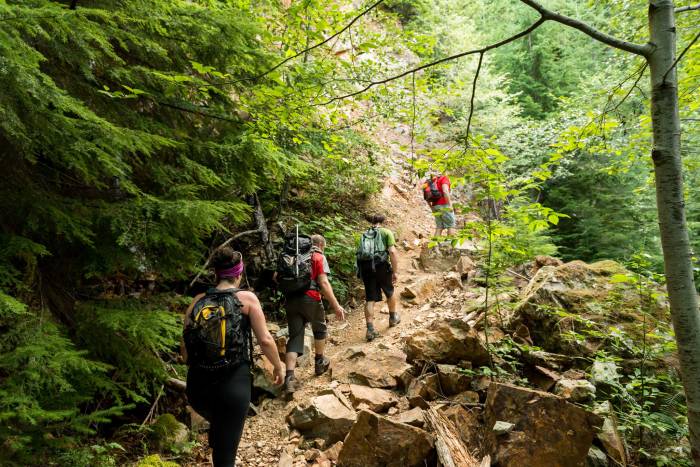
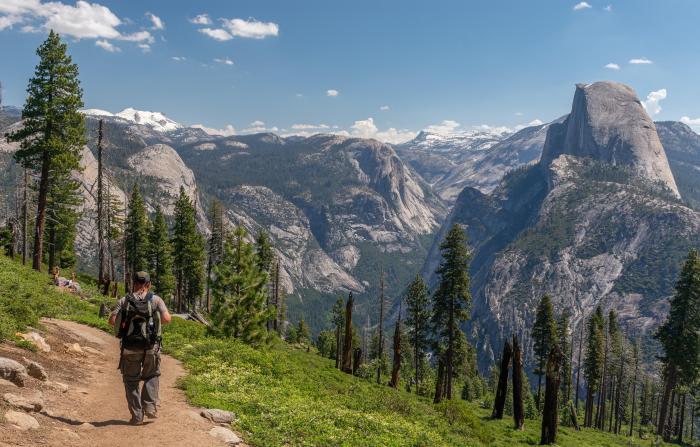
Trails To Hike: Ready to escape the everyday grind and immerse yourself in nature’s breathtaking beauty? Whether you’re a seasoned hiker or a curious beginner, this comprehensive guide unlocks the secrets to planning unforgettable adventures on the trail. From choosing the perfect path based on your skill level to mastering essential safety techniques and capturing stunning photographs, we’ll equip you with everything you need to make your next hike an epic success.
Get ready to discover the thrill of exploring hidden trails and creating memories that will last a lifetime.
We’ll cover everything from selecting the right trail based on difficulty and terrain to packing the essential gear and understanding crucial safety protocols. Learn how to navigate different types of trails, understand trail etiquette, and capture breathtaking photos along the way. We’ll also explore popular hiking destinations worldwide, providing you with inspiration for your next outdoor escapade. Prepare to be inspired and empowered to hit the trails with confidence.
Planning a Hike

Planning a successful hike involves meticulous preparation. Overlooking even minor details can significantly impact your enjoyment and, more importantly, your safety. Thorough planning ensures a smooth, rewarding experience, allowing you to fully appreciate the natural beauty surrounding you. This section will guide you through the essential steps to take before embarking on your next adventure.
Essential Hiking Gear Checklist
A comprehensive checklist is crucial for a safe and enjoyable hike. Failing to bring necessary items can lead to discomfort, injury, or even dangerous situations. Categorizing your gear ensures you don’t forget anything vital.
- Navigation: Map (topographic is best), compass, GPS device (with extra batteries), and a knowledge of how to use them. Knowing how to navigate without relying solely on technology is crucial.
- Sun Protection: Sunscreen (SPF 30 or higher), sunglasses, and a hat. High-altitude sun is particularly intense, so protection is paramount.
- Hydration: Plenty of water (consider at least 1 liter per hour of hiking), water bottles or hydration reservoir, water purification tablets (for emergency situations).
- First-aid Supplies: Comprehensive first-aid kit including bandages, antiseptic wipes, pain relievers, blister treatment, and any personal medications.
- Illumination: Headlamp or flashlight with extra batteries. Even day hikes can extend longer than anticipated, and having a light source is essential for safety.
- Nutrition: High-energy snacks (trail mix, energy bars, dried fruit), lunch.
- Clothing: Moisture-wicking base layers, insulating mid-layers (fleece or down jacket), waterproof and windproof outer shell, sturdy hiking boots (broken in beforehand), extra socks.
- Tools: Knife or multi-tool, duct tape (for repairs), lighter or matches (in a waterproof container).
- Emergency Shelter: Emergency blanket or bivy sack (for unexpected overnight stays).
Sample Day Hike Itinerary
A well-structured itinerary helps manage your time and ensures you can fully enjoy the hike. This sample itinerary assumes a moderate-difficulty, 6-mile hike with an elevation gain of 1,000 feet. Adjust the times and rest stops based on your fitness level and the specific trail.
| Time | Activity | Details |
|---|---|---|
| 8:00 AM | Start Hike | Begin at trailhead; allow extra time for parking and preparation. |
| 9:30 AM | Rest Stop 1 | 15-minute break for water and snacks; enjoy the view. |
| 11:00 AM | Point of Interest 1 | Reach a scenic overlook or landmark; take photos and appreciate the surroundings. |
| 12:30 PM | Lunch Break | 30-minute break for lunch; find a shaded area to rest. |
| 2:00 PM | Point of Interest 2 | Explore a waterfall or another notable feature. |
| 3:30 PM | Rest Stop 2 | 15-minute break; hydrate and assess energy levels. |
| 5:00 PM | Arrive at Trailhead | Complete the hike and allow time for post-hike stretching. |
Checking Weather and Trail Conditions
Before you embark on any hike, checking weather conditions and trail closures is non-negotiable. Unexpected weather changes can transform a pleasant hike into a dangerous situation. Trail closures, due to hazards or maintenance, can lead to frustration and even injury if ignored. Websites like the National Weather Service and local park websites provide up-to-date information. For example, a sudden thunderstorm in a mountainous area can cause flash floods, making trails impassable and dangerous.
Ignoring a trail closure notice could lead to encountering hazardous conditions, such as fallen trees or washed-out sections of the trail. Always prioritize safety and be informed.
Hiking Gear and Equipment: Trails To Hike

Choosing the right gear is paramount for a safe and enjoyable hiking experience. The wrong equipment can lead to discomfort, injury, and even dangerous situations. This section details essential gear, guiding you toward informed decisions based on your specific hike and weather conditions. Remember, prioritizing quality and functionality over price will significantly enhance your outdoor adventures.
Selecting appropriate hiking gear depends heavily on several factors. The length and difficulty of your trail, the expected weather, and the time of year all play crucial roles. A day hike in temperate conditions requires a much lighter load than a multi-day backpacking trip in the mountains during winter. Understanding these nuances is key to packing smart and efficiently.
Essential Hiking Gear
The following items constitute the core of any hiker’s kit. While some items are non-negotiable, others can be adapted based on individual needs and the specifics of the trail.
- Footwear: Sturdy, waterproof hiking boots are crucial for longer trails and rough terrain. Consider the ankle support and sole traction. For shorter, easier trails, trail running shoes might suffice. Break in your boots well before your hike to avoid blisters.
- Backpack: The size of your backpack depends on the length of your hike. Day hikes require smaller packs (20-30 liters), while multi-day trips necessitate larger ones (50-70 liters or more). Look for comfortable, well-ventilated packs with adjustable straps.
- Clothing: Layer your clothing to adapt to changing temperatures. Base layers (moisture-wicking fabrics), insulating mid-layers (fleece or down), and a waterproof outer shell are essential. Pack extra socks to prevent blisters. Choose quick-drying materials.
- Navigation Tools: A map, compass, and GPS device are crucial for staying on course, especially in unfamiliar territory. Learn how to use these tools before your hike. A fully charged cell phone can serve as a backup, but relying solely on it is risky.
Choosing Appropriate Gear Based on Trail and Weather
Gear selection is highly contextual. A scorching summer day hike demands different equipment than a winter trek through snowy mountains. Consider these crucial elements:
- Trail Type: Rocky, uneven trails require sturdy boots with good ankle support, while smoother trails might allow for lighter footwear. The length of the trail dictates backpack size and the quantity of supplies you need.
- Weather Conditions: Rain necessitates waterproof outerwear and potentially gaiters. Cold weather demands layers of warm clothing, including hats and gloves. Extreme heat requires light, breathable clothing and ample hydration.
- Season: Seasonal changes dramatically impact necessary gear. Winter hikes demand extra insulation, emergency supplies, and possibly snowshoes or crampons. Summer hikes focus on sun protection and hydration.
Hiking Equipment: Benefits and Drawbacks
Several optional pieces of equipment can greatly enhance your hiking experience, but each has its pros and cons. Careful consideration of your needs is vital.
- Trekking Poles: Benefits include improved balance and stability, reduced strain on knees and joints, and better uphill traction. Drawbacks include added weight and potential for inconvenience on certain terrains.
- Hydration Packs: Benefits include hands-free hydration and convenient access to water. Drawbacks include added weight, potential for leaks, and the need for cleaning and maintenance.
- Headlamps: Benefits include crucial illumination in low-light conditions, essential for safety and navigation. Drawbacks include added weight and the need for batteries.
Photography on Hiking Trails
Capturing the breathtaking beauty of the natural world while hiking can elevate your experience from a simple trek to an unforgettable adventure. Mastering the art of trail photography allows you to preserve these memories and share the stunning vistas with others. This guide provides practical tips and techniques to help you take compelling photographs on your next hike.
Successful trail photography relies on a blend of technical skill and artistic vision. Understanding composition, lighting, and subject matter is key to capturing images that truly reflect the essence of your journey. Moreover, responsible photography ensures the preservation of the environment you are exploring.
Composition Techniques for Hiking Photography
Effective composition is crucial for creating visually appealing photographs. By carefully considering the placement of elements within the frame, you can guide the viewer’s eye and create a sense of depth and balance. The rule of thirds, leading lines, and framing are powerful tools to achieve this.
Consider the following:
- Rule of Thirds: Instead of centering your subject, place it along one of the imaginary lines that divide the frame into thirds, both horizontally and vertically. This creates a more dynamic and visually engaging composition.
- Leading Lines: Utilize natural elements like paths, rivers, or mountain ridges to draw the viewer’s eye into the photograph. These lines create a sense of depth and movement.
- Framing: Use natural frames, such as trees, arches, or rock formations, to isolate your subject and create a more intimate and focused image. This technique adds depth and context to your photograph.
Mastering Lighting for Stunning Trail Photos
Light is the painter of your photographic canvas. Understanding how light affects your images is essential for capturing stunning trail photos. The golden hour (the hour after sunrise and the hour before sunset) and the blue hour (the period just after sunset and just before sunrise) offer soft, warm, or cool light that dramatically enhances landscapes and subjects.
Here are some key lighting considerations:
- Golden Hour: The low angle of the sun during the golden hour casts long shadows and creates a warm, inviting glow, ideal for landscapes and portraits.
- Blue Hour: The cool, muted tones of the blue hour are perfect for capturing a serene and tranquil atmosphere in your images. It’s particularly effective for capturing the subtle colors of the twilight sky.
- Backlighting: While often avoided, backlighting can create stunning silhouettes and highlight the texture and form of subjects, adding a dramatic flair to your images. Experiment with different exposures to achieve the desired effect.
Capturing Diverse Subjects on the Trail
The beauty of trail photography lies in its diversity. From sweeping landscapes to intimate wildlife encounters, each subject offers unique photographic opportunities.
Here’s how to approach different subjects:
- Landscape Photography: Capture the vastness of the landscape by incorporating elements like mountains, forests, and water bodies. Utilize wide-angle lenses to capture the full scale of the scene. Consider using a tripod for sharp images, especially in low light conditions.
- Wildlife Photography: Patience and respect are key when photographing wildlife. Use a telephoto lens to capture detailed shots without disturbing the animals. Focus on capturing natural behaviors and interactions.
- Fellow Hikers: Capture candid moments of fellow hikers enjoying the trail. Obtain permission before taking close-up portraits. Focus on capturing the emotion and spirit of the experience.
Respecting the Environment During Trail Photography, Trails To Hike
Responsible photography is paramount. Always prioritize the preservation of the natural environment. Avoid disturbing wildlife, vegetation, or fragile ecosystems.
Key principles of responsible trail photography include:
- Leave No Trace: Pack out everything you pack in, including any trash generated during your photography session.
- Respect Wildlife: Maintain a safe distance from animals and avoid disturbing their natural habitat. Never attempt to lure or feed animals for a photograph.
- Protect Vegetation: Avoid trampling plants or damaging fragile ecosystems. Stay on designated trails whenever possible.
So, lace up your boots, grab your backpack, and get ready to embark on an unforgettable journey. Remember, hiking is not just about reaching the summit; it’s about the journey itself—the sights, the sounds, the challenge, and the camaraderie. By following the tips and advice Artikeld in this guide, you can ensure a safe, enjoyable, and memorable hiking experience.
Now go forth and explore!
